Build your RV outdoor living setup in ordered layers: level and stabilize the rig, deploy the awning, roll out a floor mat, add furniture that leaves a clear entry lane, clip on lights, then place cooking gear away from the awning. Follow that sequence and you’ll have a functional patio in under 20 minutes. Skip a layer or do it out of order, and you’ll be repositioning stakes and furniture in the dark, cursing your own shortcuts.
TL;DR:
- Setting up an RV outdoor space in the correct order prevents rework and should start with leveling and stabilizing the rig before deploying the awning.
- Using a pre-packed tote with stakes, tie-downs, and tools speeds up setup and teardown, reducing total time to approximately 15 to 20 minutes for experienced campers.
- Retract the awning immediately when forecasted gusts increase, and keep open-flame cooking at least three feet away from the canopy fabric to prevent wind and heat damage.
- Proper lighting, zoning, and privacy measures, such as LED strips, zones with rugs, and mesh panels, enhance comfort and safety during evening use.
- Long-term sites with full hookups, gated access, and on-site amenities like laundry and a gym simplify outdoor living and reduce setup complexity, especially for extended stays.
Table of Contents
- How to Set Up an RV Outdoor Living Space Step by Step
- Layering Your Awning, Floor Mat, and Furniture the Right Way
- Awning Wind Limits and Safe Cooking Placement
- Lighting, Zoning, and Privacy for Evening Comfort
- Storage Systems That Make Setup and Teardown Faster
- How Long Does an RV Outdoor Setup Really Take?
- Handling Rain and Temperature Swings Beyond Wind
- Keeping Pets and Kids Safe in Your Outdoor Setup
- Choosing and Prepping Your Site Before You Set Up Anything
- Powering Your Lights and Gear Without a Cable Mess
- What Mesquite Oasis Sees in Long-Stay Outdoor Living
- A Managed Alternative When You Want Less Setup, Not More
- Sources
- FAQ
How to Set Up an RV Outdoor Living Space Step by Step
Setting up an RV outdoor living space works best as a repeatable routine, not a fresh improvisation every time you park. The order matters because each layer depends on the one before it. Move furniture before you’ve staked the mat, and you’ll be shifting chairs twice.
Here’s the sequence that avoids rework:
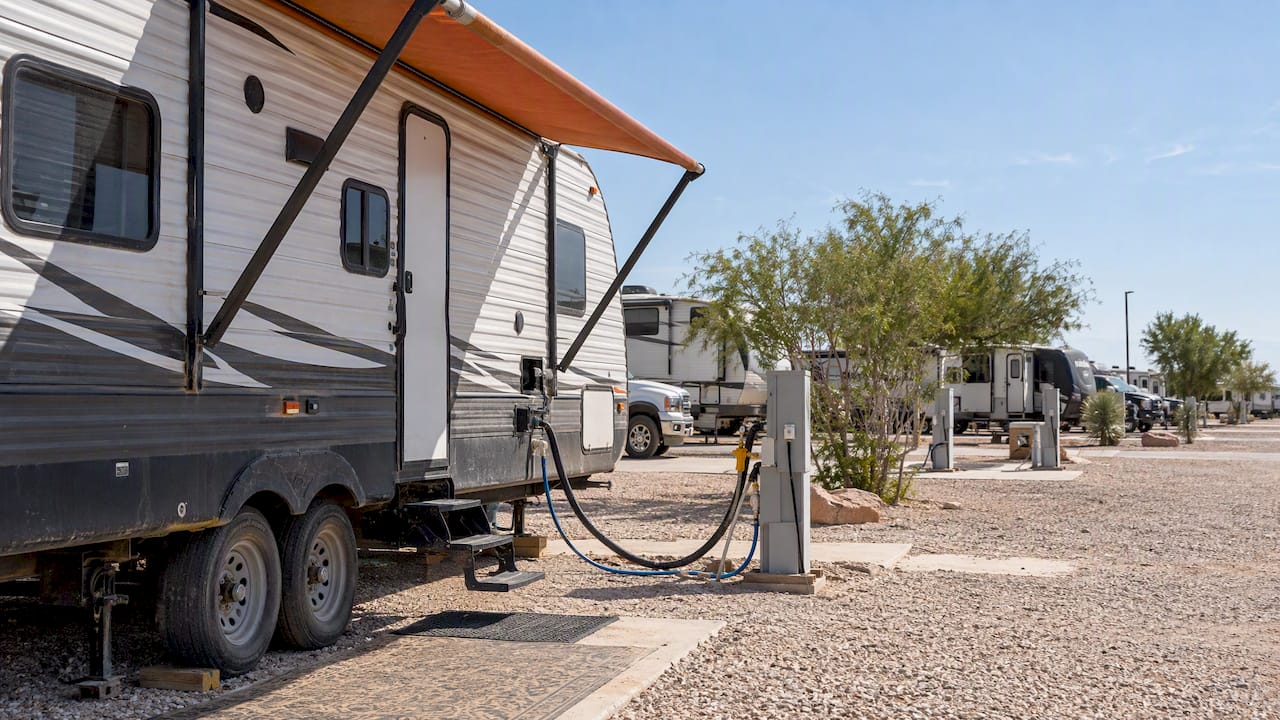
- Check the site and hookup. Confirm the pad is reasonably flat, check for low branches near the awning path, and test the power pedestal before you unhook anything.
- Level and stabilize the rig. This is the one step you truly can’t skip. An unlevel RV throws off door swing, fridge function, and awning pitch.
- Deploy the awning and set the pitch. Angle it slightly downward at the outer edge so rain runs off instead of pooling.
- Roll out and stake the ground mat. Match the footprint to your awning’s shadow.
- Add furniture, leaving a clear walking lane to the door.
- Clip on your lighting.
- Set up cooking gear and any bug or wind add-ons last.
This ordering isn’t arbitrary. Practical RV patio setup guidance recommends leveling and awning deployment first specifically because repositioning an anchored mat or a staked awning later costs real time and risks tearing gear.
Pro Tip: Keep one dedicated “setup tote” packed with stakes, tie-downs, LED strips, and a small tool kit so you’re never hunting through three different bins on arrival.
Layering Your Awning, Floor Mat, and Furniture the Right Way
The layered approach exists because each piece solves a different problem, and stacking them in the wrong order undoes your own work. Level first. Pitch the awning next. Only then does the floor covering and furniture placement make sense, since you now know exactly how much shaded footprint you’re working with.
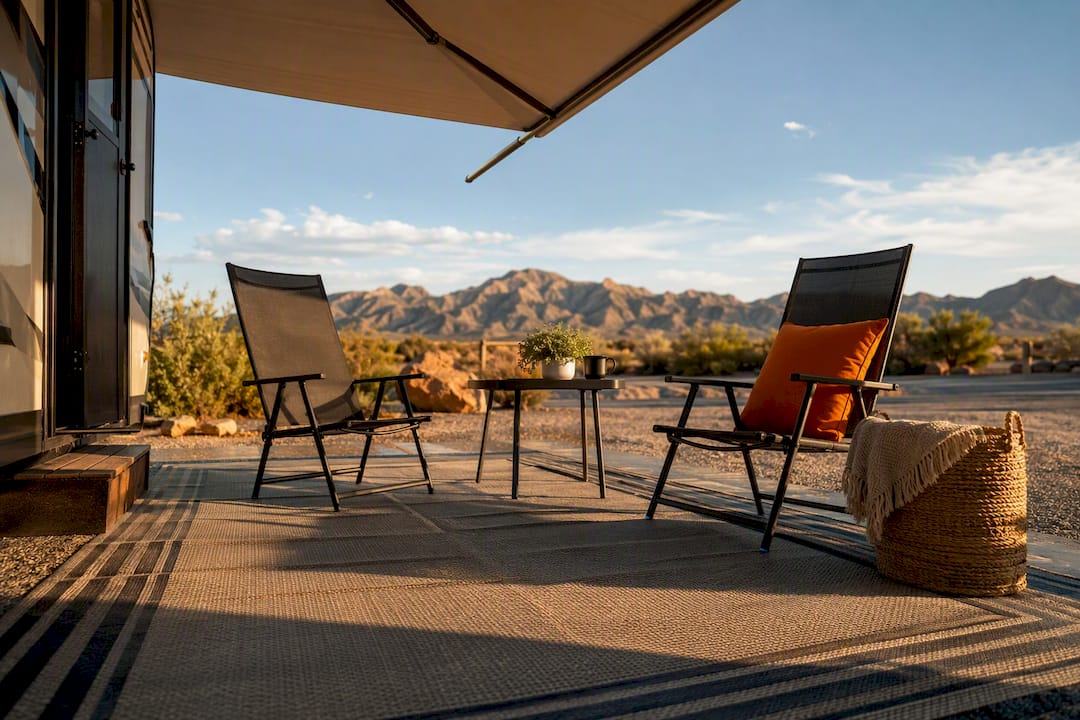
If you only add two things to a bare concrete pad, make it shade and a rug. That single combination does more to make a site feel like an outdoor living space than any amount of decor added afterward.
- Awning projection versus panel add-ons: A standard patio awning gives shade directly under the rig’s overhang. Shade panels extend coverage on the sides for afternoon sun, while a full screen room adds bug and weather protection but takes real setup time.
- Floor coverings: Reversible polypropylene mats are the standard choice among RVers because they resist mildew, wipe clean, and hold up under folding chairs. Size the mat to roughly match your awning’s shadow so the whole shaded area feels finished, not half covered.
- Securing the mat: Choose mats with heavy-duty stake loops or grommets built in. Camping World’s outdoor patio guidance specifically recommends mats sold with their own stakes, since a mat that flaps in wind collects dirt and becomes a tripping hazard.
- Furniture: Low-profile, weather-resistant pieces work better than bulky patio sets. Arrange them to preserve sightlines toward the campfire or view, and always keep a clear path from the door to the steps.
Awning Wind Limits and Safe Cooking Placement
Wind damage almost never comes from steady breeze. It comes from sudden gusts, which is why an awning that looks fine on a calm afternoon can shred within minutes when a front moves through. There’s no formal U.S. wind rating standard for retractable fabric awnings, so the safest rule is simply to retract the awning whenever gusts begin to increase, rather than waiting to see if it holds.
- Retract the awning any time forecasted gusts climb, even if the current average wind feels manageable, since gust behavior is what actually tears fabric.
- Tie-downs and de-flapper clamps reduce fabric movement in light wind but won’t save an awning from a real gust.
- Wind sensors on motorized awnings automate retraction, a genuinely useful backup when you’re away from the site, though they still need power and correct setup to work.
- Keep open-flame cooking at least three feet from awning fabric, and angle your stove or griddle toward the open edge so heat and smoke vent away from the canopy.
- Grease rising off a griddle is a slow, quiet threat. It settles on canopy fabric over months and degrades it even when you’ve never had an actual flare-up.
- Before a storm rolls in, stow loose furniture first, then the mat, then retract the awning last, once nothing can blow into it.
Pro Tip: If your site sits in a wind corridor near open desert or flat terrain, treat every forecast gust warning as a retract order, not a suggestion.
Lighting, Zoning, and Privacy for Evening Comfort
A functional setup and a genuinely pleasant one aren’t the same thing. The difference is usually lighting and zoning done with a little intention rather than gear thrown down at random.
- Lighting: LED strips along the awning edge give broad, even light for cooking and walking. String lights add ambiance for the lounge zone, and solar stakes along the entry path prevent the classic dark-night stumble over a step. A patio lighting specialist will tell you the same thing that applies at a campsite as at home: angle fixtures downward so they light the ground, not your neighbor’s window.
- Zoning: Use your mat and a smaller accent rug to visually separate dining from lounging from cooking. This isn’t decoration for its own sake. Clear zones combined with an unobstructed walk path are what RV design writers point to as the real difference between a chaotic site and a comfortable one, especially once it’s dark and someone’s heading to the steps.
- Privacy: Mesh privacy panels or a freestanding screen work well at closely spaced sites. Potted plants add a softer natural barrier if you want something less obviously a wall.
- Neighbor etiquette: Point lights down and inward, keep music at conversation volume after dark, and remember your generator or speaker carries farther across an open RV park than it would in a backyard.
Storage Systems That Make Setup and Teardown Faster
The fastest campers aren’t the ones with the most gear. They’re the ones whose gear lives in the same place every single time. Clear, labeled totes and a wheeled crate stored under the rig turn a 40-minute setup into something closer to 15.
- Keep one “essentials” tote packed exclusively for setup day: mat stakes, tie-downs, a compact tool kit, and your LED strip.
- Pre-pack de-flapper clamps and extra tie-down straps in that same tote so a sudden wind forecast doesn’t send you digging through the basement bay.
- Store cooking gear separately from lighting and mat hardware. Mixing them means grease residue ends up on things it shouldn’t.
- On teardown, stow the grill and anything grease prone first, fold and bag the mat second, and retract the awning last, once nothing loose can catch on the fabric.
That last-item rule matters more than it sounds. Retracting the awning too early, while gear is still scattered underneath it, is how canopy fabric ends up snagged and torn on a folding chair leg.
How Long Does an RV Outdoor Setup Really Take?
A pre-staged setup with everything in one tote typically runs 15 to 20 minutes for experienced RVers. Add a screen room, deck tiles, or a full outdoor kitchen and you’re looking at closer to an hour, since each of those items needs its own leveling, staking, or assembly step.
Fast setup (about 20 minutes):
- Level and stabilize (3 to 5 minutes)
- Awning deployment and pitch (2 minutes)
- Mat rollout and staking (5 minutes)
- Furniture placement (3 minutes)
- Lighting clip on (3 minutes)
- Cooking gear staging (2 to 3 minutes)
Extended setup add-ons: A privacy screen room adds 15 to 20 minutes. Interlocking deck tiles add 20 to 30 minutes depending on pad size. A full outdoor kitchen setup, including propane connections, adds another 15 minutes on top of that.
Handling Rain and Temperature Swings Beyond Wind
Wind isn’t the only weather variable that wrecks an outdoor setup. Rain and temperature swings do just as much damage to your comfort, if not your gear, and they need their own plan.
For rain, pitch your awning at a slight downward angle toward the outer edge so water sheds instead of pooling into a sagging puddle that stresses the fabric. A vinyl or reversible mat drains faster than a woven rug and won’t hold moisture underneath, which matters if you’re parked more than a few nights and don’t want mildew setting in. Keep a rolled tarp in your setup tote as backup coverage for furniture you can’t move quickly if a storm rolls in fast.
Temperature swings, especially in desert regions with big day-to-night gaps, call for layering just like wind protection does. Shade panels cut afternoon heat load on the awning side facing the sun, while a simple portable fan or misting attachment helps during peak afternoon hours in summer. Once evening temperatures drop, a propane patio heater positioned well clear of the awning fabric, following the same distance logic as cooking safety, extends how long you can comfortably sit outside. In colder shoulder seasons, insulated seat cushions and a wind-blocking panel on the exposed side of your setup do more for comfort than any amount of extra lighting.
The core principle carries over from wind planning: build in redundancy for the weather variable most likely to hit your specific region, and stage the gear for it before you need it, not after.
Keeping Pets and Kids Safe in Your Outdoor Setup
An outdoor living space that’s safe for adults isn’t automatically safe for a toddler or a dog running loose. A few adjustments close that gap without complicating your setup.
Keep the cooking zone physically separated from the play or pet area, ideally with furniture or a rug boundary marking where kids and pets shouldn’t wander during grilling. The same three-foot distance rule that protects your awning from open flame also protects small hands and paws from a hot griddle edge. Tie-down stakes and guy lines for the awning are a genuine tripping and snagging hazard for kids running around barefoot. Cap exposed stake tops with brightly colored covers, sold cheaply at most outdoor stores, so they’re visible in low light.
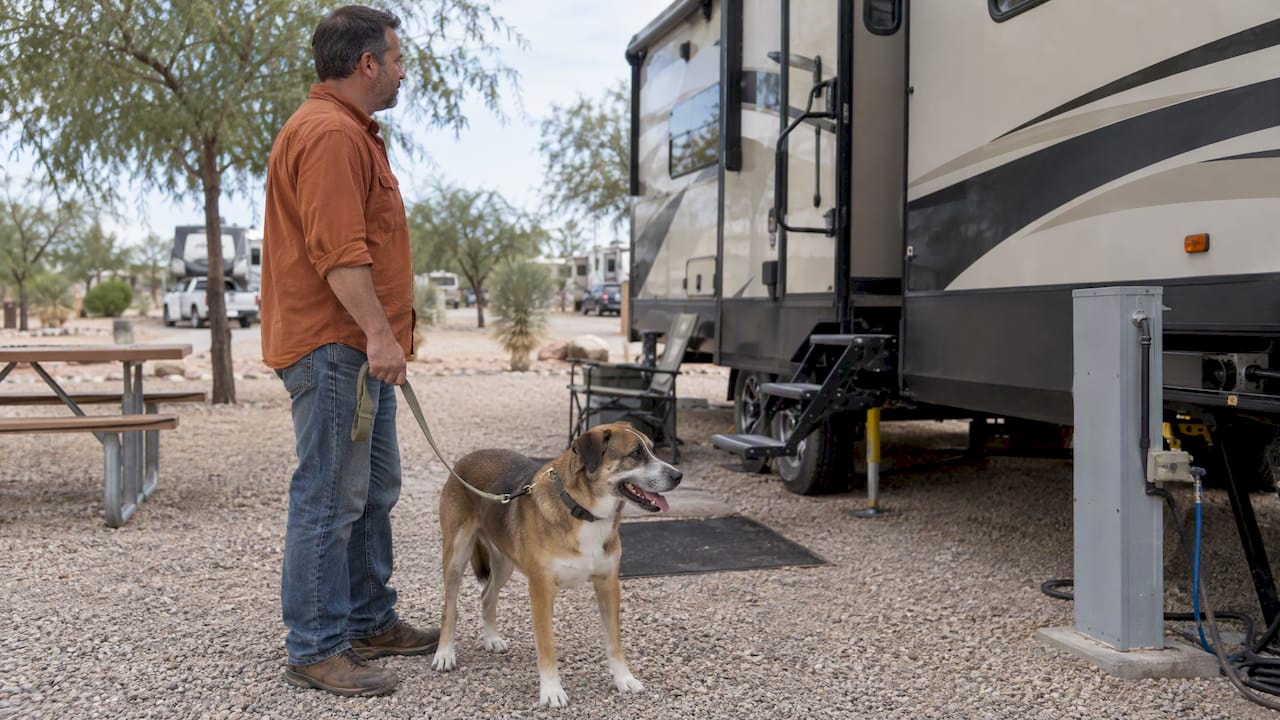
For pets, a lightweight exercise pen or tether staked well away from the cooking zone and the awning’s edge keeps dogs from bolting toward a hot grill or getting tangled in tie-down lines. Check tether length against your fire pit or stove distance before you clip it on, not after. Solar path lights along walkways help kids and pets alike avoid stepping into guy lines or mat edges after dark, when most trip-related injuries happen at a campsite.
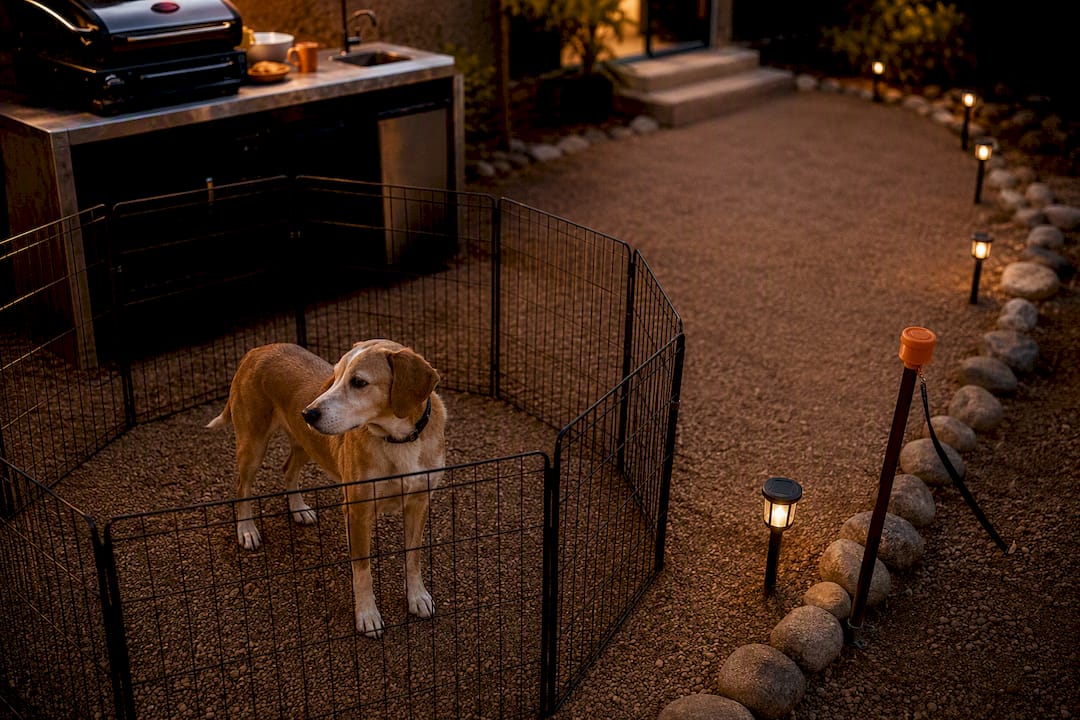
If you’re staying somewhere with shared common areas, always leash pets when moving between your site and any amenity space, and never leave young kids unsupervised near an active grill, even for the few minutes it takes to grab something from inside.
Choosing and Prepping Your Site Before You Set Up Anything
Setup speed and safety both start before you unhook a single cable. Site selection determines whether your layered approach goes smoothly or fights you the entire time.
Look for a pad that’s already close to level. Even a slight natural slope saves you from stacking multiple leveling blocks, which costs time and adds instability to everything you build on top of it. Check drainage before committing. A site that looks flat but sits in a shallow bowl will pool water directly under your mat during the first real rain, undermining the exact floor covering you just staked down.
Proximity to camp facilities matters more than most first time RVers expect. A site too far from the bathhouse or dump station means extra walking in bad weather, while a site directly next to a busy road or shared pathway sacrifices privacy and adds noise to your evening setup. Check for overhead branches or power lines before you deploy an awning, since a snagged awning arm is a common and entirely avoidable repair bill.
Ground texture affects your stake choice too. Loose sand holds standard stakes poorly and often needs longer or wider ones, while hard-packed caliche common in parts of Texas may require a mallet and a different stake angle entirely. Test one stake before you commit the whole mat perimeter to a ground type that fights you.
Powering Your Lights and Gear Without a Cable Mess
Outdoor lighting and small appliances need power, and how you route that power determines whether your setup looks clean or turns into a tripping hazard by nightfall.
Run your LED awning strip and string lights off the RV’s own 12 volt system where possible, since it avoids extra extension cords crossing your walk path entirely. For anything drawing more power, like a portable griddle or a fan, use a single heavy-duty outdoor-rated extension cord routed along the edge of your mat rather than straight across the middle of it. Cord covers, the same flat rubber strips used at outdoor events, keep cords from becoming a snag point for kids, pets, or your own feet after dark.
Battery-powered or solar options solve a lot of this problem outright. Solar stake lights need no cord at all, and a small portable power station can run string lights and charge devices without pulling from your main hookup or adding cord runs across the site. If you’re running multiple items off the pedestal, a short power strip rated for outdoor use, mounted or hung at chair height rather than left on the ground, keeps connections out of any rain or dew that collects on the mat overnight.
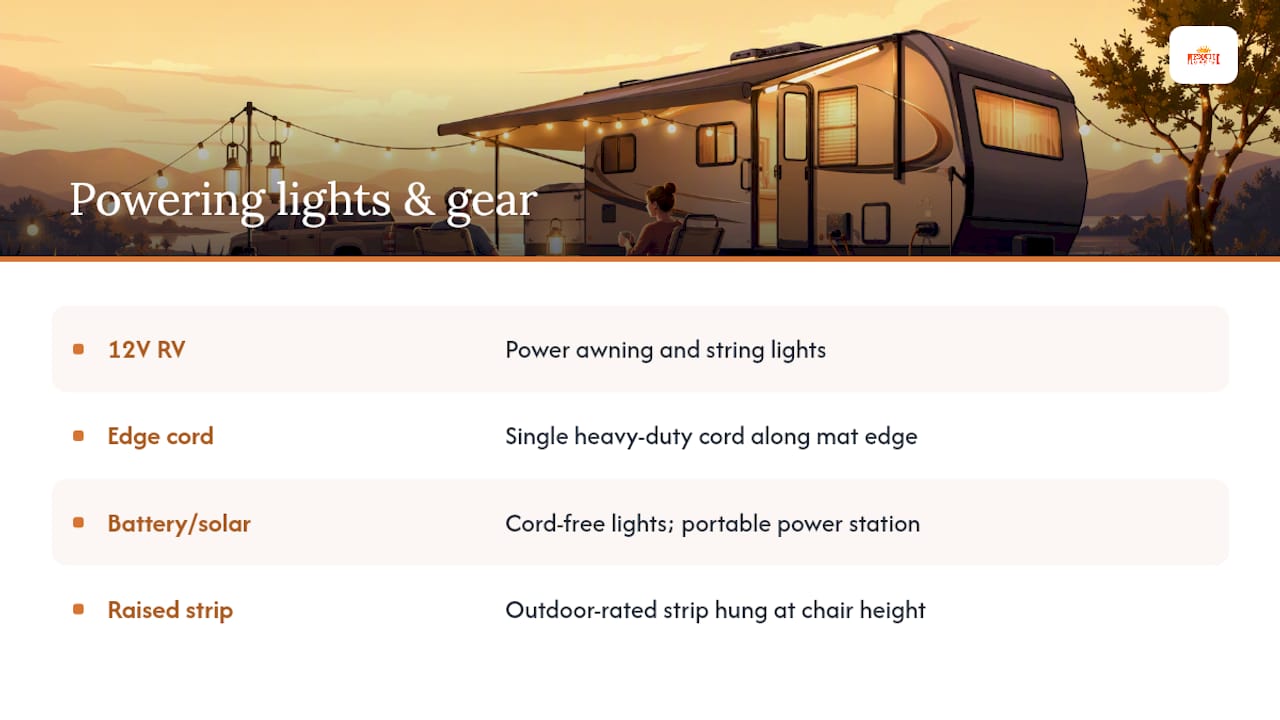
Always route cords away from the cooking zone. A cord running near a stove or griddle is both a heat risk and a spill risk if anything gets knocked over during meal prep.
What Mesquite Oasis Sees in Long-Stay Outdoor Living
There is a local RV park and lodge in Odessa with full-hookup RV sites and furnished lodge rooms, offering online booking, applications, and payment. For guests staying weeks or months rather than a weekend, that changes the outdoor setup equation. Gated access, on-site laundry, and a gym mean less gear to haul and secure overnight, since fewer comforts have to live outside your rig.
A Managed Alternative When You Want Less Setup, Not More
If you’re reading this checklist and thinking your outdoor setup shouldn’t require a tool kit and a wind app every single evening, that’s exactly the gap Mesquite Oasis fills. Instead of building your own shade, floor, and lighting layers from scratch at every stop, a gated site with full hookups gives you stable power and water without the pedestal gamble that makes leveling and staging harder elsewhere.
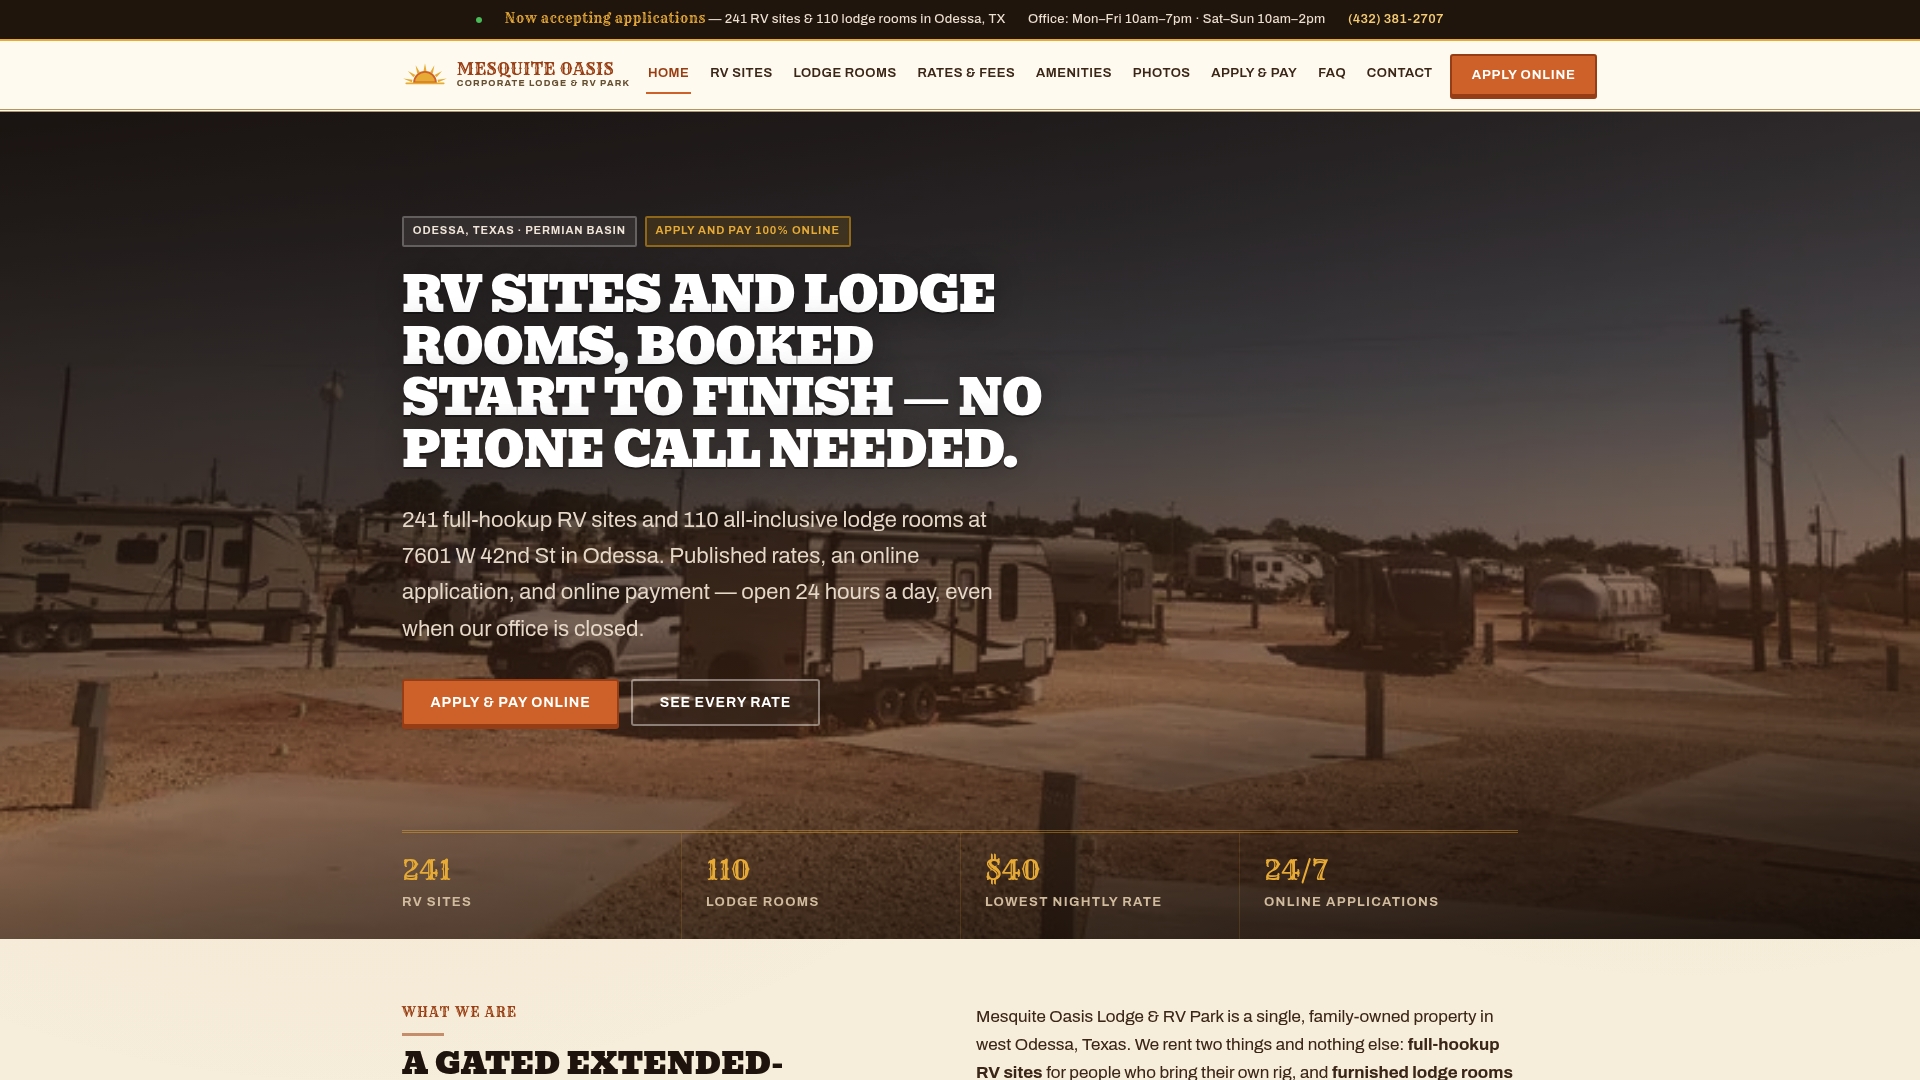
Contractors and shift workers on long Permian Basin assignments get the biggest payoff here: laundry, a gym, and secure gated grounds mean your outdoor gear can stay simpler because the amenities you’d otherwise haul are already on site. The entire application, booking, and payment process runs online, so there’s no phone tag with a park office when you’re trying to lock in a site before your next shift starts. If a long-stay setup with fewer moving parts sounds better than another 20 minute patio build every time you relocate, check current site availability and get your reservation started.
Sources
- RV Patio Setup — Create Your Outdoor Living Space
- 10 outdoor patio ideas | Camping World
- Awnings in Wind & Rain — Weather Guide | AwningTown
FAQ
How Long Does It Take to Set Up an RV Outdoor Space?
A pre-staged setup with gear organized in one tote typically takes 15 to 20 minutes. Adding a screen room, deck tiles, or a full outdoor kitchen can push total setup time closer to an hour.
How Far Should a Grill Be From My RV Awning?
Keep open-flame cooking a safe distance from awning fabric, with the stove or griddle angled toward the open edge so heat and smoke vent away rather than rising directly into the canopy.
What Wind Speed Should I Retract My Awning At?
There’s no formal U.S. wind rating for retractable fabric awnings, so the safest practice is retracting as soon as gusts pick up rather than waiting for a specific number, since gusts cause damage even when average wind seems fine.
What’s the Minimum Gear Needed for a Decent RV Patio?
Shade and a floor mat are the two highest-impact items. That combination alone turns a bare concrete pad into a defined outdoor room before you add furniture or lighting.
Does Mesquite Oasis Offer Full Hookups for Long-Term RV Stays?
Yes, a facility in Odessa provides full-hookup RV sites with online booking, applications, and payment, catering to contractors and workers on extended assignments.