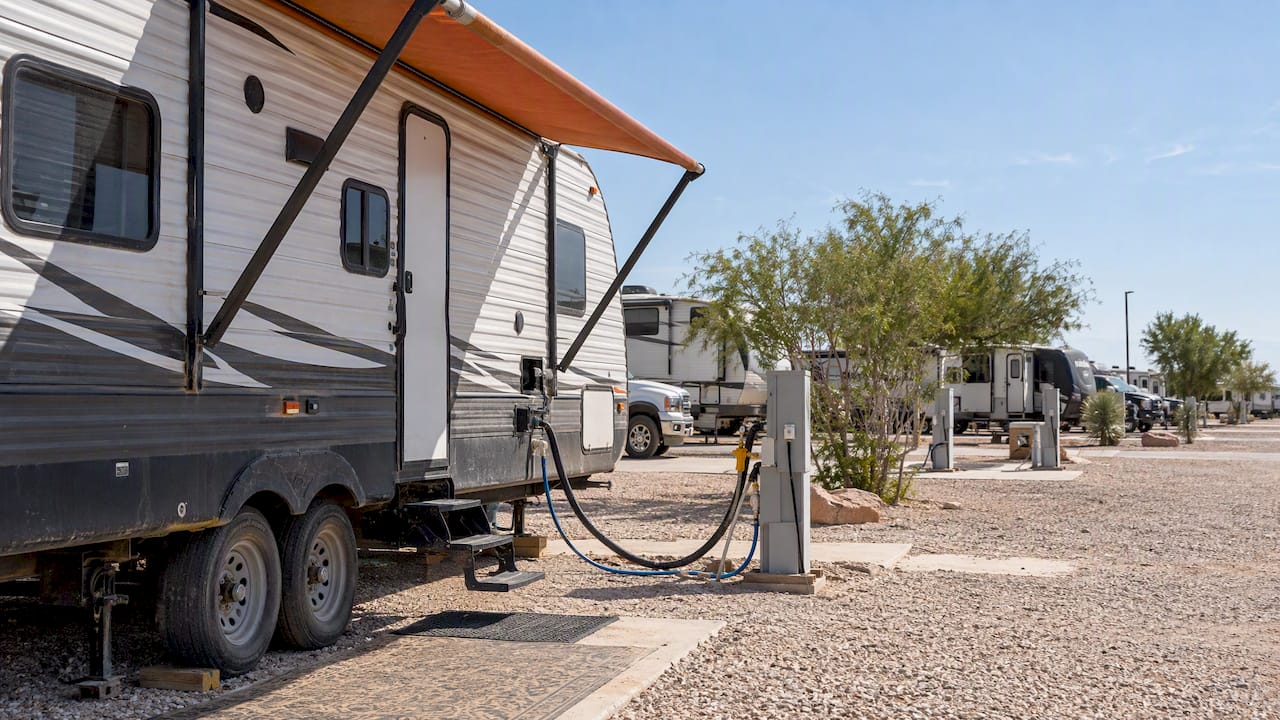
Start with air sealing, damp the doghouse and other resonant metal panels, treat the wheel wells and floor, and fix loose latches and rattles. Those four moves address the paths where most RV noise enters, and they cost the least in time and payload. Expect gradual, layered gains rather than one dramatic fix, and never block ventilation around your generator, refrigerator vent, or engine compartment while doing any of this.
TL;DR:
- Sealing gaps around doors, windows, and vents is the most cost-effective step to reduce air leaks and wind noise in RVs.
- Applying damping mats to resonant panels like the doghouse and wheel wells significantly diminishes structure-borne vibrations and panel resonance.
- Addressing rattles with felt pads and tight latches can cut perceived noise more than road or wind sounds, often with minimal effort.
- Soundproofing materials such as mass-loaded vinyl are heavy and should be used selectively after cheaper fixes to target specific noisy areas.
- Prioritizing fixes that are reversible, low-cost, and effective first provides the best value compared to heavy barrier installations or treating all walls equally.
Table of Contents
- Start here: the highest-impact fixes first
- How sound travels through your RV and which material fixes which problem
- Area-by-area projects: where to work and how
- What to buy: materials, tools, and realistic budgets
- Safety limits and what not to touch yourself
- Timeline, cost, and how to check your progress
- What a quieter campsite experience looks like from the ground
- Our take: skip the hype, fix the leaks first
- Mesquite Oasis: a quiet option when the road noise follows you home
- FAQ
- Sources
- Authoritative resources and manuals
Start here: the highest-impact fixes first
Before buying a cart full of foam and mats, work through the fixes in order of effort versus payoff. Sealing and rattle fixes take an afternoon and already make a noticeable difference, according to practical DIY accounts from RV renovators who tested doghouse damping and sealing projects. Bigger jobs like floor treatment or dense barriers take longer and should wait until the cheap wins are done.
-
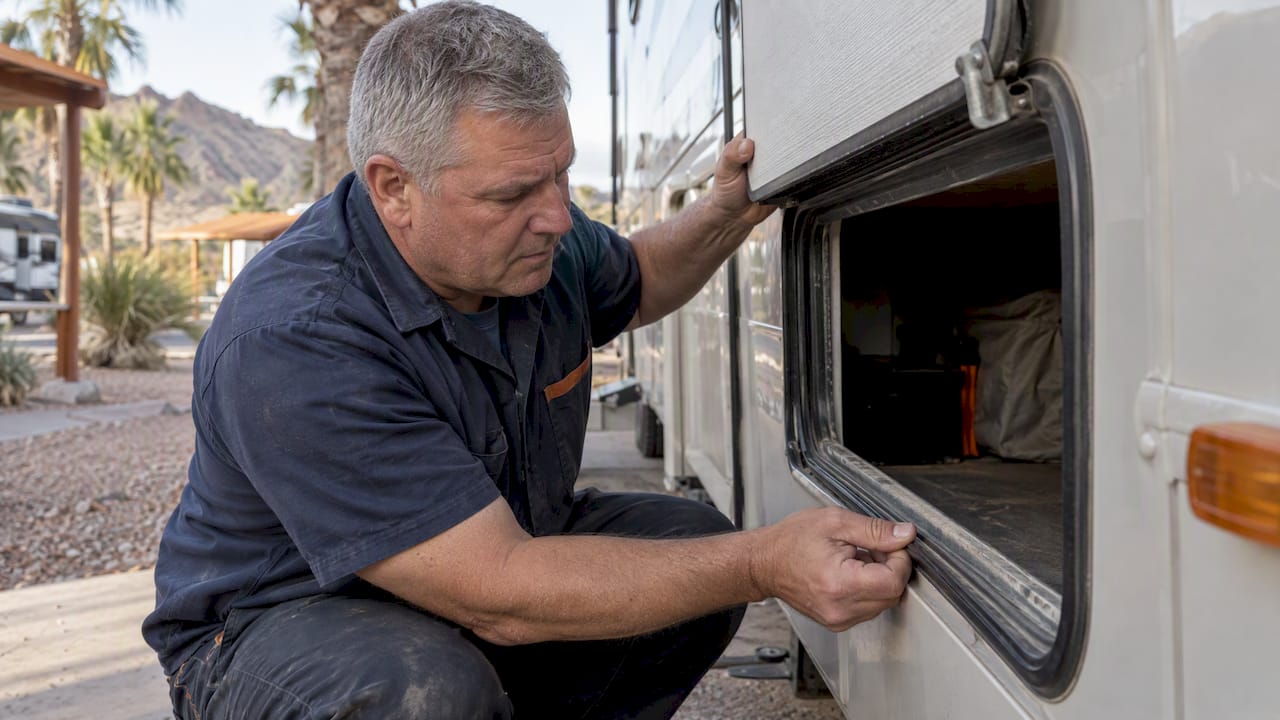
Seal every gap around doors, windows, slide-outs, and wire pass-throughs with automotive-grade weatherstripping or silicone, since even small air leaks carry a surprising amount of road and wind noise.
-
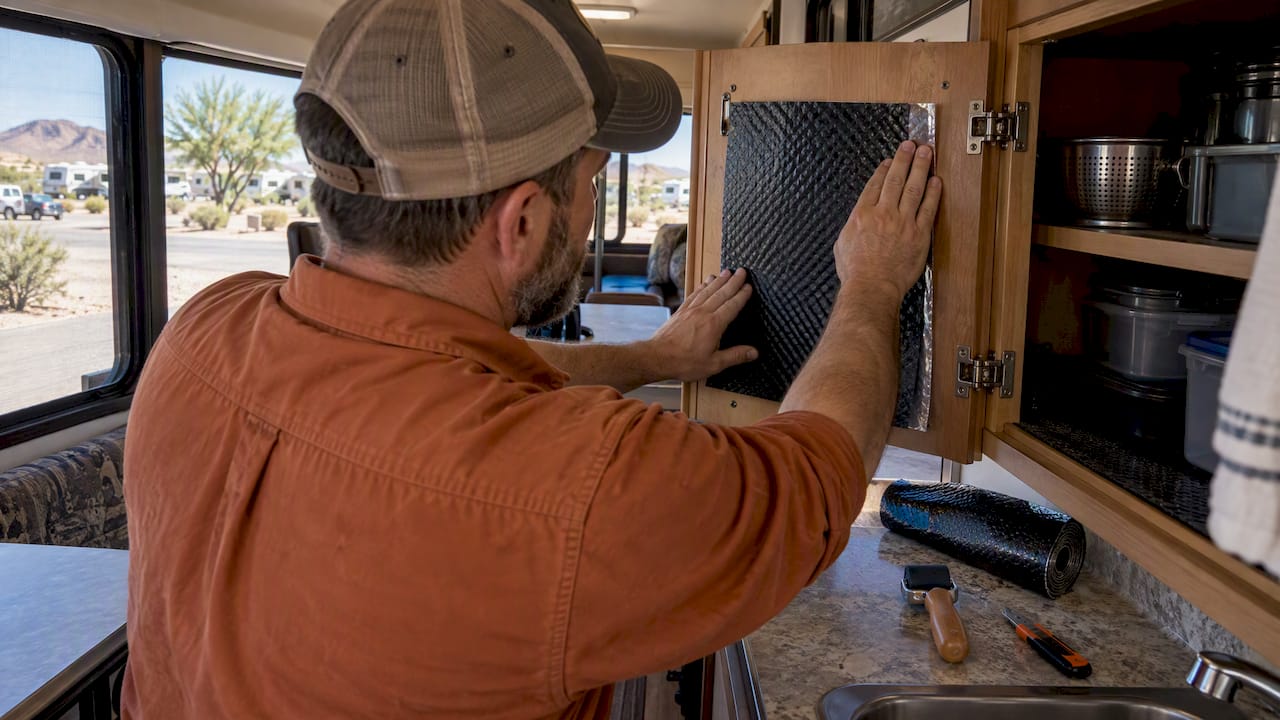
Damp resonant metal panels, especially the doghouse cover over the engine, using butyl damping mats applied to most of the panel surface rather than full coverage, which saves weight while still killing most of the vibration, per guidance on targeted damping coverage.
-
Treat wheel wells and floor paths, where tire and road noise enters directly below your feet, with damping mat plus a thin underlayment before replacing flooring.
-
Fix appliance and vent noise by checking AC gaskets, refrigerator compartment seals, and water pump mounting, since loose mounts turn minor vibration into a constant hum.
-
Quiet the rattles with felt pads, magnetic cabinet catches, and tightened latches, which often account for more perceived noise than road or wind sound combined.
-
Consider a dense barrier like mass-loaded vinyl (MLV) only after the cheaper fixes are done, since it adds real weight and is best reserved for one or two problem walls rather than the whole rig.
Air sealing and rattle fixes come first because they are reversible, cheap, and immediate. Damping comes next because it stops panels from acting like speakers. MLV comes last because it is heavy, and payload matters on an RV in a way it never does in a house.
How sound travels through your RV and which material fixes which problem
Noise reaches your RV’s interior two different ways, and treating the wrong one wastes money. Airborne noise is sound traveling through the air, like wind rush or highway traffic, and it needs mass or absorption to block it. Structure-borne noise travels through solid panels and vibrates them, which is what causes a thin metal doghouse cover to resonate like a drum on rough pavement.
- Damping (butyl mats) stops metal panels from vibrating and resonating, which is the main job for a doghouse cover or large flat wall section.
- Absorption (foam, Thinsulate-style fiber insulation) soaks up airborne sound energy inside wall and ceiling cavities without adding much weight.
- Decoupling (rubber or foam gaskets at mounting points) breaks the physical connection that lets vibration travel from an engine or pump into the frame.
- Dense barriers (MLV) block airborne sound by mass alone and work best as a targeted layer rather than a blanket treatment.
Because these four jobs are different, a single material rarely solves the whole problem. A wall with foam but no damping will still ring when something taps it, and a doghouse with damping but no seals will still leak wind noise around its edges. Layering the right material at the right spot matters more than how much of any one material you buy, and different materials genuinely serve distinct roles in a layered soundproofing approach.
It also helps to remember that decibels are logarithmic, so a modest-sounding reduction can still feel meaningful, while a project that “only” trims a few dB may not feel dramatic in the moment, a pattern the EPA’s explanation of A-weighted decibels lays out clearly. Don’t judge a fix by how it sounds in the first five minutes. Judge it after you’ve stacked two or three fixes together.
Area-by-area projects: where to work and how
Each noise path needs its own approach, access method, and material choice. Work through these in the order below if you’re tackling more than one area in a weekend.
- Doghouse and firewall. Remove the cover, clean the metal with isopropyl alcohol, then apply butyl damping mat to the engine-facing side to resist panel excitation. A second layer of absorption or mass on the cabin-facing side increases airborne blocking without closing off any vent paths, an approach recommended for treating the doghouse from both sides. Reseal every seam afterward with high-temperature silicone, and never cover a vent opening.
- Floors and wheel wells. Pull back flooring at the edges or remove it entirely if you’re doing a full treatment. Clean the subfloor, apply damping mat over the largest flat sections near the wheel wells, then add a thin closed-cell foam underlayment before relaying your floor covering. This combination cuts road and tire noise more than either material alone.
- Doors, windows, and slide seals. Inspect every seal for compression set, cracking, or gaps you can see light through. Replace tired gaskets with automotive-grade weatherstripping, and use silicone sealant for small gaps around window frames or slide mechanisms that weatherstripping can’t reach.
- Roof and headliner. Apply acoustic foam panels or a damping layer to the ceiling cavity before reinstalling headliner material, which cuts both engine noise from below and rain noise from above. An exterior coating rated for RV roofs can also reduce the drumming sound of rain, though it’s a secondary fix compared to interior treatment.
- Appliances and generator. Add vibration isolation pads under the water pump and refrigerator compressor to stop buzzing from transferring into cabinets and walls. For the generator, use a layered enclosure approach with absorptive material facing in and keep every manufacturer-specified clearance intact, since generator installation manuals specify fire-resistant material and clearance requirements that aren’t optional.
Pro Tip: Do a quick listening test before and after each area project instead of waiting until the whole RV is done. It tells you which fix actually mattered and saves you from repeating wasted work.
What to buy: materials, tools, and realistic budgets
A focused shopping list beats buying everything the internet suggests. Here’s what actually earns a spot in your RV.
- Butyl damping mat (Dynamat-style) for the doghouse, large wall panels, and wheel wells, applied at 60 to 80 percent coverage rather than edge to edge.
- Closed-cell foam as an underlayment for floors and a decoupling layer at appliance mounts.
- Mass-loaded vinyl (MLV) used selectively on one or two walls where airborne road noise is worse, since it adds real weight if used throughout.
- 3M Thinsulate or automotive fiber insulation as a lightweight cavity fill that handles both sound absorption and some thermal benefit, a combination some RV builders favor for year-round comfort.
- Weatherstripping rated for automotive or RV use, sized to the gap you’re sealing rather than a one-size-fits-all strip.
For tools, keep it simple: a hard rubber roller to bond damping mat, a sharp utility knife, seam sealer for the doghouse, isopropyl alcohol for cleaning surfaces before any adhesive goes down, and heat-tolerant gloves if you’re working near the engine bay.
One practical note on coverage: full 100 percent damping coverage on a panel rarely outperforms 60 to 80 percent coverage, since the uncovered areas don’t reintroduce meaningful resonance once the dominant vibration modes are damped, based on field guidance from RV repair forums. That difference alone can save several pounds of payload on a mid-size rig.
If budget is tight, prioritize sealing and rattle fixes first since they cost under $50 total, then save for damping mat and skip MLV unless one specific wall is clearly the worst offender.
Safety limits and what not to touch yourself
A few rules matter more than any amount of soundproofing.
- Never block ventilation paths for your generator, refrigerator, or furnace, even temporarily, since blocked airflow creates a carbon monoxide or overheating risk.
- Follow manufacturer clearance specifications exactly when modifying anything near the generator enclosure, and use only fire-resistant materials in that compartment, since improper materials or spacing create real fire hazards according to generator installation guidance.
- Avoid combustible foam or insulation in any sealed pocket near the engine or exhaust routing.
- For reference, commercial power units are held to an interior noise limit of 90 dB(A) at the driver’s seat under 49 CFR § 393.94, a useful baseline for how loud “too loud” really is in a vehicle cab.
- Leave windshield resealing, generator enclosure redesign, or any fuel or exhaust routing change to a qualified technician rather than attempting it as a weekend project.
If your soundproofing plans involve electrical work near an inverter or generator setup, bonding and corrosion rules matter just as much as acoustic material choice, and the installation principles covered in this guide to inverter and charger install rules apply broadly to any vehicle electrical modification done near a damp or vibration-prone compartment.
Timeline, cost, and how to check your progress
Plan your soundproofing project in stages rather than one marathon weekend.
- Quick fixes (seals, weatherstripping, rattle pads) take an afternoon and show an immediate, audible difference the first time you drive or run the AC.
- Mid-size projects (doghouse damping, wheel well treatment) take a full weekend per area and need the vehicle parked and accessible.
- Larger projects (full floor treatment, selective MLV) often span multiple weekends or justify a professional install if your schedule is tight.
A single fix rarely produces a dramatic change on its own, a pattern consistent with how DIY renovators describe staged soundproofing results: noticeable improvement comes from stacking two or three fixes across different noise paths, not from perfecting one. A phone-based sound meter app isn’t lab-grade, but it’s good enough to compare before and after readings in the same spot and confirm a project actually helped.
For maintenance, check weatherstripping annually for compression set or cracking, reseat any damping mat edges that have lifted after temperature cycles, and retighten rattle-prone latches each season.
What a quieter campsite experience looks like from the ground
Long-term RV parks and furnished lodge rooms built for people on long work assignments often hear plenty about what noise actually bothers guests: generator hum from a neighboring site, traffic near a main road, or a slide motor two rigs over. None of that is solved by the camper’s own soundproofing alone. Site placement matters just as much.
If you’re booking an extended stay, ask about site orientation relative to high-traffic service areas or shared generator zones, and request a quieter site away from the laundry building or main thoroughfare if that matters to you. Pairing good site selection with the DIY fixes above gets you closer to the quiet most long-stay guests actually want.
Our take: skip the hype, fix the leaks first
The soundproofing industry sells a lot of heavy, expensive barrier material to people who would get more benefit from a $15 roll of weatherstripping. That’s the gap worth naming here: most RV noise complaints trace back to air leaks and loose panels, not a lack of mass. MLV has its place, but it’s the last tool to reach for, not the first, and a rig loaded with barrier material it doesn’t need just burns payload for marginal gain.
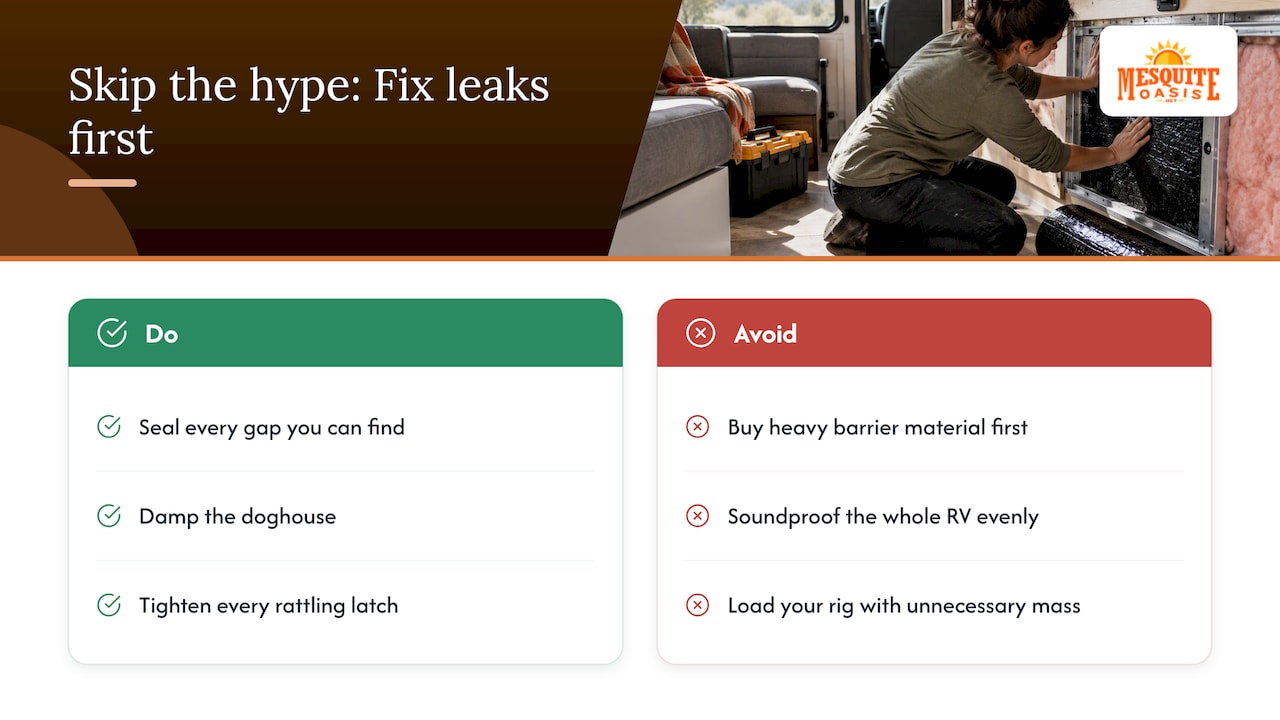
The conventional advice to “soundproof the whole RV” also oversells itself. Treating every wall equally ignores that noise enters through specific paths, the doghouse, the floor, the door seals, and spending evenly across all of them wastes effort on areas that were never the problem. Find your loudest path first, fix that, then move to the next one.
If you do only three things this year, seal every gap you can find, damp the doghouse, and tighten every rattling latch. That combination solves more real-world RV noise than any single product on a shelf.
Mesquite Oasis: a quiet option when the road noise follows you home
If you’re parking long-term while you finish soundproofing projects or just want a site that’s already quieter than a crowded lot, we built Mesquite Oasis around that need. Our gated Odessa property offers full-hookup RV sites with the power capacity your AC, pump, and tools need, plus furnished lodge rooms if you’d rather skip the RV altogether during a long assignment.

- Request a quieter site location when you book, especially if you’re sensitive to generator or service-area noise.
- Review current RV site options and lodge room availability before you apply.
- Complete your application and payment entirely online through our registration page, no phone calls required.
FAQ
What is the 333 rule for campers?
The 333 rule is informal camping guidance, not a soundproofing standard, and it typically refers to driving limits like stopping by 3 PM and limiting daily travel. It has no direct connection to RV noise reduction, though shorter driving days do reduce the fatigue that makes road and wind noise feel more grating.
What is the best sound deadening material for a camper van?
Butyl damping mat applied to resonant metal panels like the doghouse or side walls handles vibration best, while a dense barrier like mass-loaded vinyl adds airborne blocking where one specific wall needs it. Most camper vans benefit from combining the two rather than relying on either material alone, since they solve different noise problems.
What is the 10 year rule for RVs?
The 10-year rule generally refers to some RV parks, storage facilities, or insurers limiting or adjusting terms for older rigs, and it varies by location and provider rather than being a single nationwide standard. It isn’t a soundproofing rule, but older rigs often have worn seals and insulation that make noise treatment more worthwhile.
How can I do homemade soundproofing?
Start with inexpensive fixes: seal door, window, and slide gaps with weatherstripping, add felt pads to cabinets, and tighten loose latches, since these cost little and deliver immediate results. From there, apply butyl damping mat to the doghouse and any large flat metal panel, then treat wheel wells and floors if road noise is still noticeable.
Sources
- eCFR :: 49 CFR 393.94 – Interior noise levels in power units
- EPA: Noise levels affecting health and welfare
- Best soundproofing materials for RVs — SoundproofingDude
- RV Soundproofing Tips for Quieter Road Trips — RV Renovate
Authoritative resources and manuals
- eCFR: 49 CFR 393.94, interior noise levels in power units